
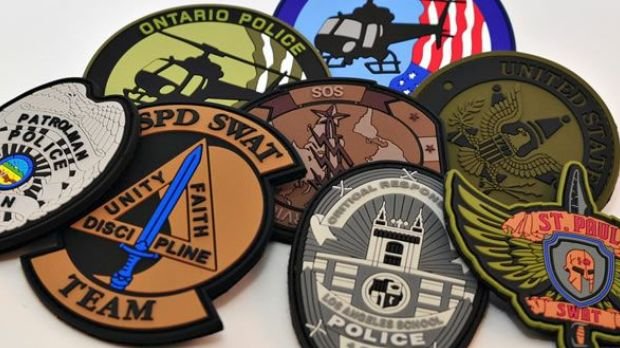

Custom embroidered patches are a popular way to represent a brand, team, or personal style, but pricing them out can feel confusing at first. Costs vary based on size, design complexity, quantity, and finishing options, so two patches that look similar can end up priced very differently. Here’s a breakdown of what actually drives the cost and how you can keep your budget under control without cutting corners on quality.
What Determines the Price of a Patch?
1. Size
Larger patches require more thread, more stitching time, and more backing material, so price scales up with dimensions. A small 2-inch patch will always cost less than a 5-inch version of the same design.
2. Design Complexity
Patches with many colors, fine details, or gradient-style shading take longer to digitize and stitch. Simpler designs with bold shapes and limited colors are faster to produce and generally cheaper.
3. Quantity
This is the biggest lever for cost savings. Embroidery pricing is heavily influenced by setup costs — digitizing the design and preparing the machine. Once that setup is done, producing more patches barely increases the total cost, so unit price drops sharply as order size grows.
4. Backing and Border Options
Iron-on, sew-on, Velcro, and adhesive backings all come at different price points. Merrowed borders (the classic stitched edge) are usually standard, while die-cut or laser-cut edges can add a bit more.
5. Thread Type
Standard polyester thread is the most cost-effective option. Metallic threads or specialty finishes add a premium but can make a design stand out.
Typical Cost Ranges
While exact pricing depends on your supplier, here’s a general idea of what to expect:
- Small orders (under 50 pieces): Higher per-unit cost due to setup fees.
- Mid-size orders (50–200 pieces): Noticeably better per-unit pricing.
- Bulk orders (200+ pieces): The most cost-efficient option, often ideal for teams, businesses, or events.
How to Save on Custom Patches
- Order in bulk when possible. Even doubling your quantity can meaningfully lower the per-patch price.
- Simplify your design. Fewer colors and cleaner shapes reduce production time and cost.
- Stick to standard sizes and shapes. Custom die-cut outlines can add extra charges compared to standard rounds or rectangles.
- Choose iron-on backing if you don’t need something more heavy-duty like Velcro, since it’s usually the most economical option.
- Plan ahead. Rush production often comes with added fees, so ordering early avoids that extra cost.
Designing Your Patch Before You Order
Before committing to a quantity or finish, it helps to see your design finalized. Using a custom patch designer online lets you build your patch layout, test colors, and adjust sizing yourself, so you know exactly what you’re paying for before placing an order. This also prevents costly reprints caused by last-minute design changes.
Getting Your Patches Made
Once your design and budget are set, the next step is production. If you want to have patches made at a fair price without sacrificing stitch quality, choose a manufacturer that’s transparent about pricing at every quantity tier and offers guidance on design choices that keep costs down. A good supplier will often suggest small tweaks — like reducing a color or adjusting size — that lower your price without changing the look of your patch.
Final Thoughts
Custom embroidered patch pricing comes down to a handful of clear factors: size, complexity, quantity, and finishing choices. By understanding how each one affects cost, you can design a patch that looks great and fits your budget — whether you’re ordering a handful for personal use or hundreds for a team or business.